
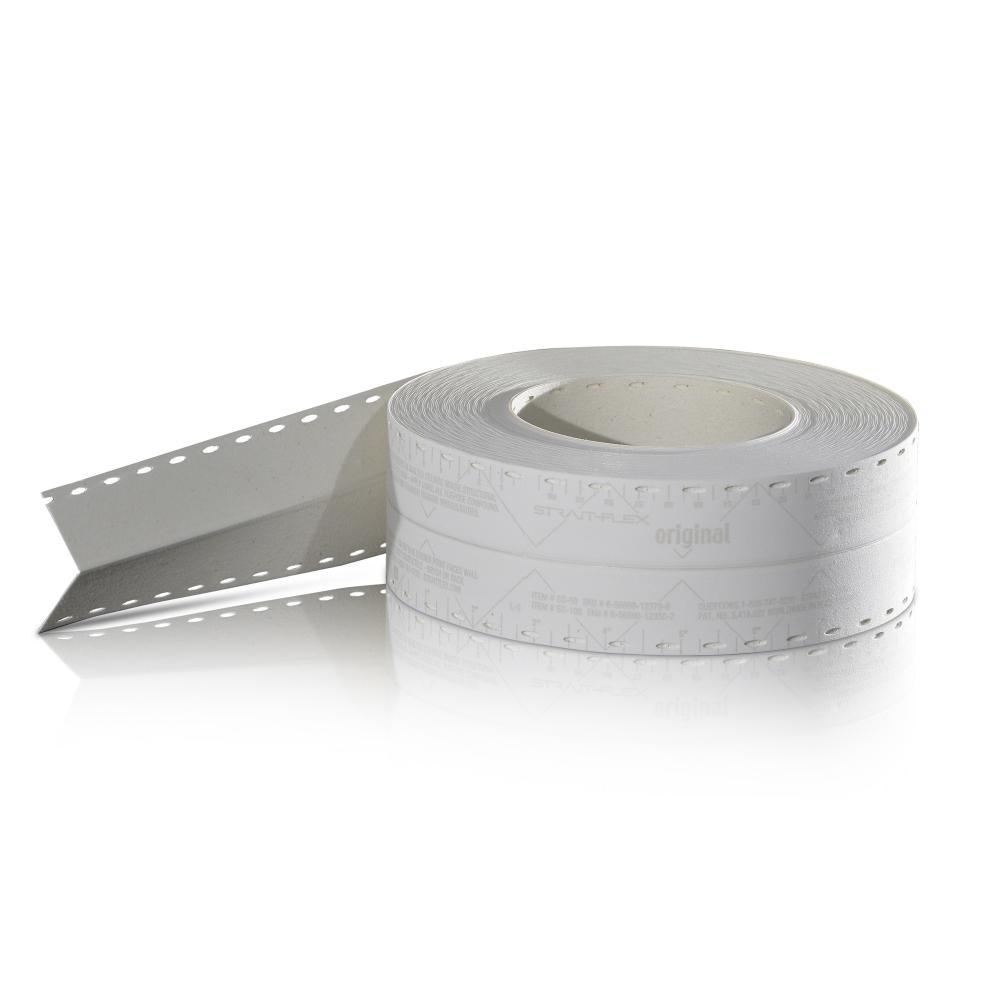

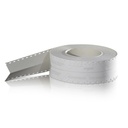
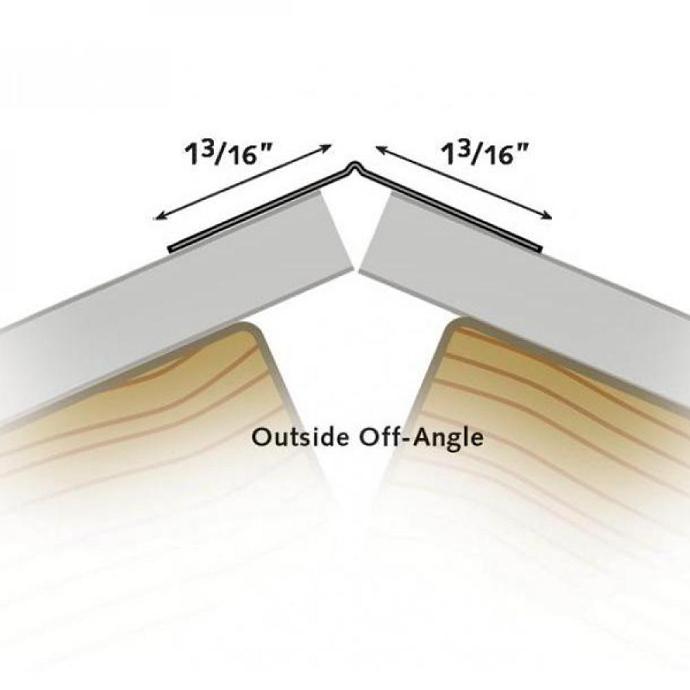
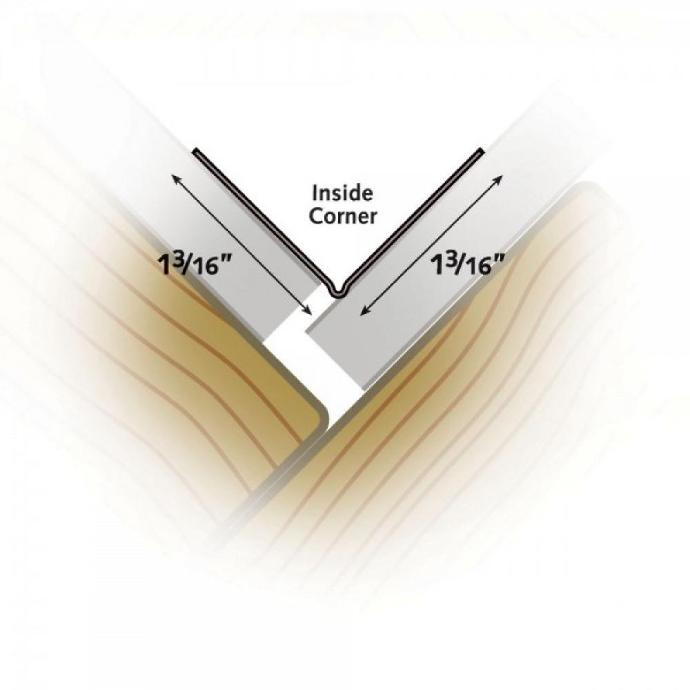
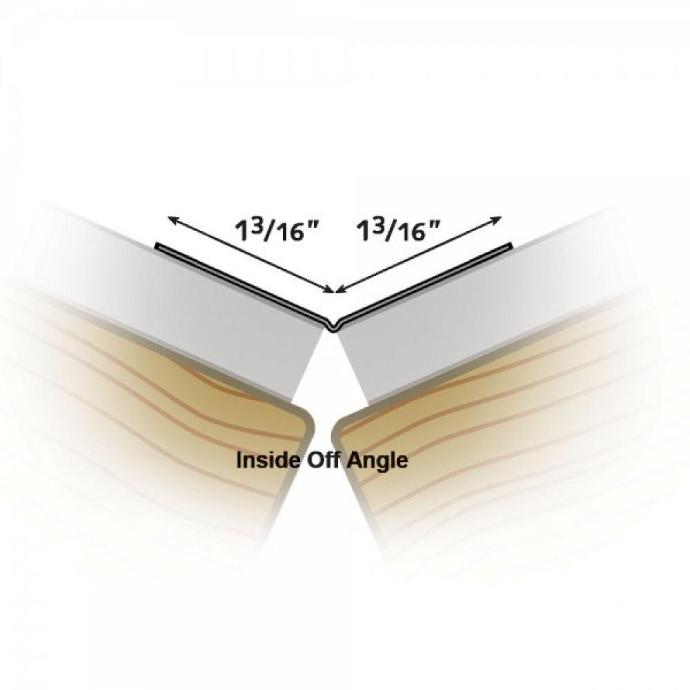
Strait-Flex Original creates clean inside and outside, 90-degree, and off-angle corners with much less compound than conventional corner beads, such as PVC or Steel.
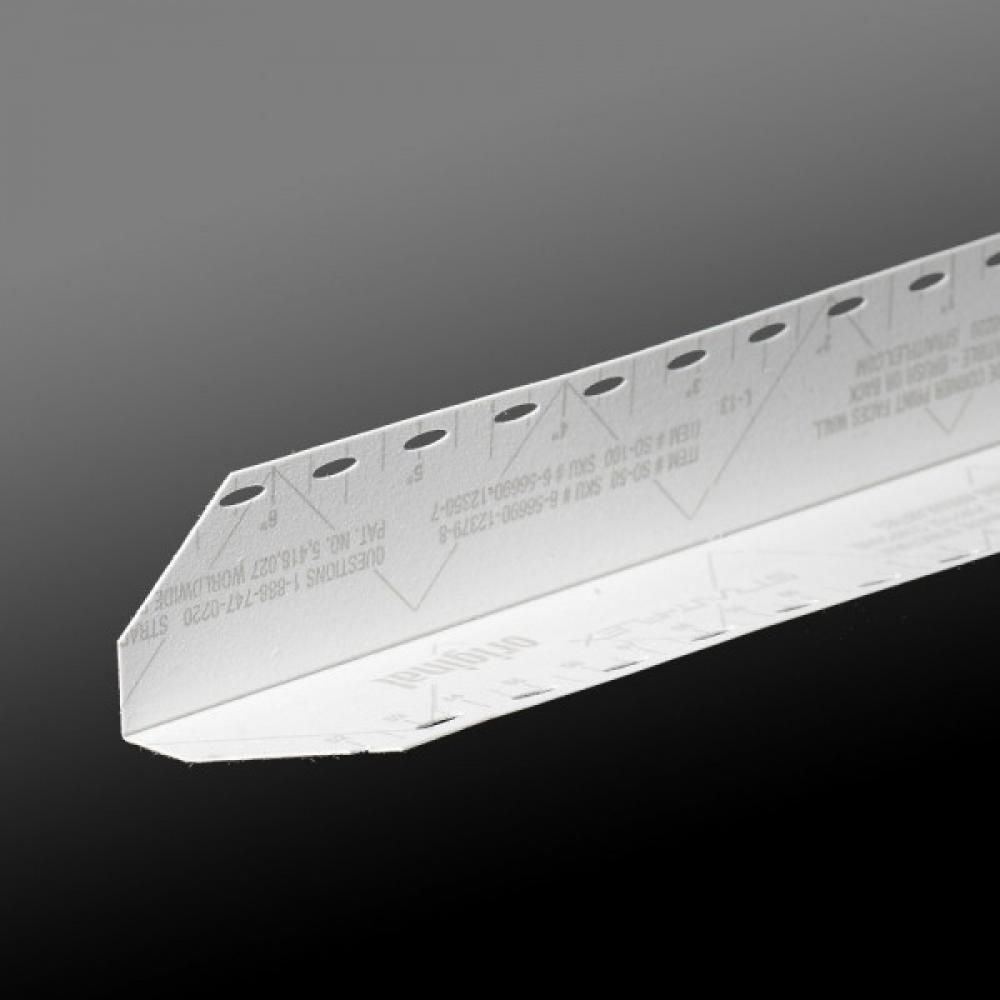
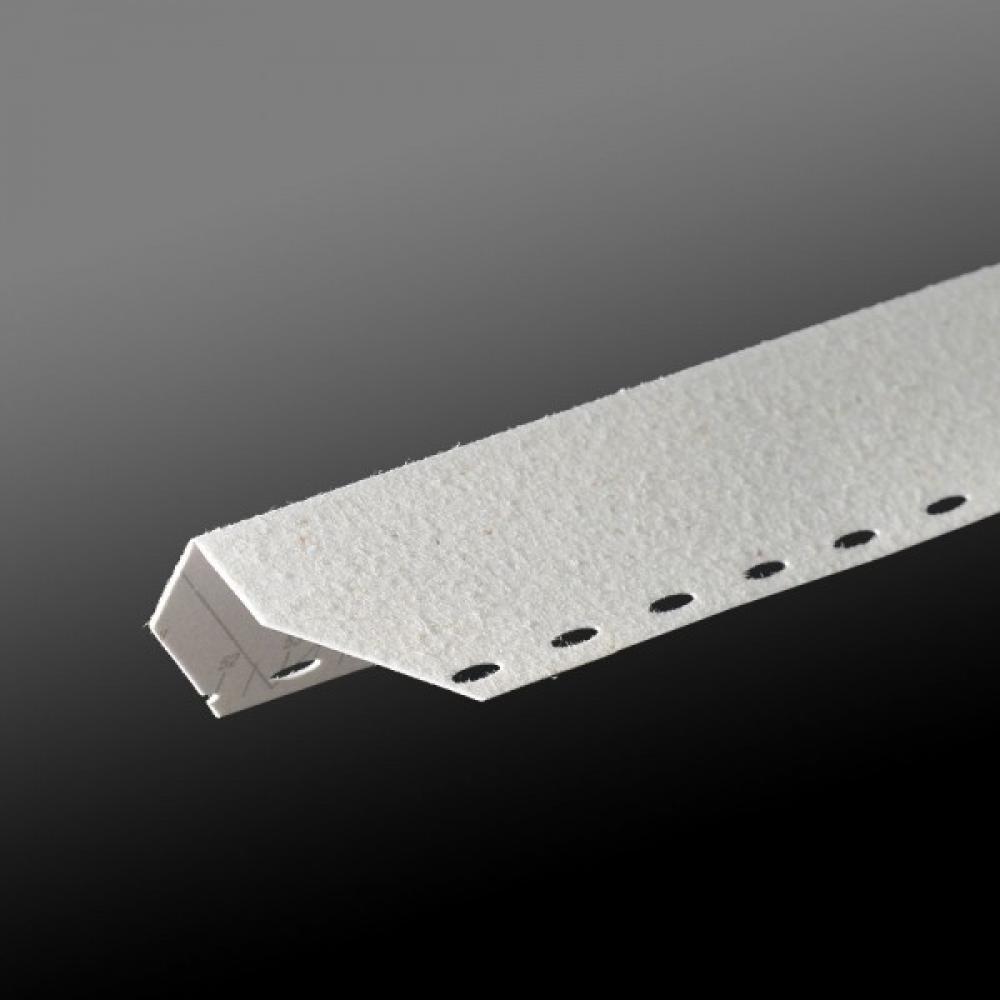
The slotted-edge design facilitates a superior bond to the drywall substrate, providing clean corners without paper fuzz-up during finishing and sanding. Original is ideal for bay windows, coffered ceilings, or any inside corner where gaps are present. Apply with all-purpose joint compound.
- Replaces standard corner bead and uses half the compound
- Spans common gaps in drywall. No back-filling required
- Great for coffered and tray ceilings and bay windows
- Spans gaps in drywall hanging on inside corners
For How to Video - Click here
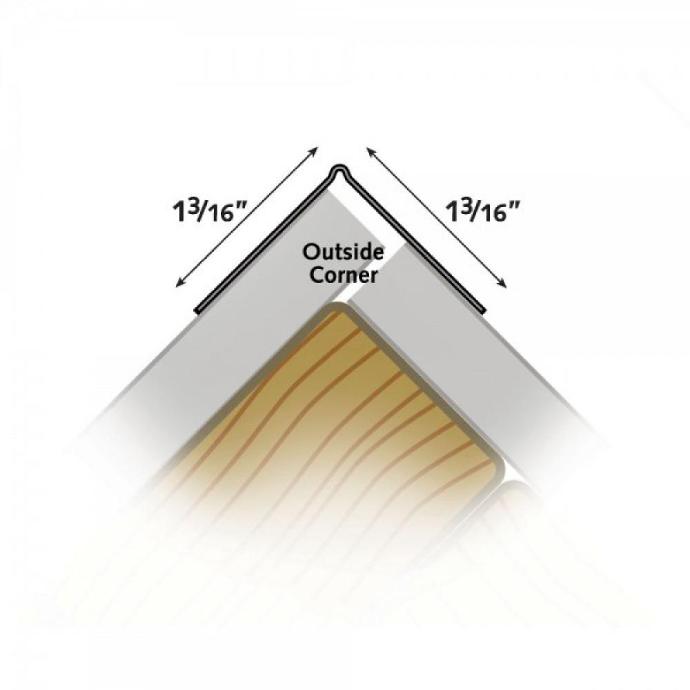
- Cut Strait-Flex Original to the desired length and trim the ends at 45-degree angles. Fold Original in half at the center crease, with the print-sides facing themselves. For outside corners, fold more than the desired angle with the print-side facing the wall. For inside corners, fold less than the desired angle with the print-side facing out.
- Apply all-purpose compound to the corner. Press Original into the wet compound and adjust, if necessary, to create a straight line.
- Wipe down tight and smooth with a taping knife.
- The first finishing coat of compound can be applied immediately. Let this dry completely, for several hours or overnight.
- With a 6” or 8” taping knife, apply your final coat of compound, feathering the compound beyond previous coat. For inside corners, a very light coat of compound is all that’s needed. Let this dry completely, for several hours or overnight.
- Sand lightly with 120 grit sandpaper. Original will not fuzz-up like paper or mesh tapes.
- Alternatively, Strait-Flex Original can be installed on an outside corner with the print-side facing out. Installing Original in this manner means that the product’s pronounced nose will face the wall, allowing the corner to be finished without a nose. Additionally, installing the product in this fashion allows the flock backing to face the wall, which increases bonding strength. Be aware that excessive wiping using this method could cause too much mud to be removed from the backside of the product – in the event that this happens, you may experience flange pop due to the “memory” of the hinge in the nose of Strait-Flex Original. It is due to this nuance that we recommend installation with the print-side facing in on an outside corner, however, you can achieve the same fast, straight, and strong finish installing the product in both fashions.
What other have to say - Testimonials
"Having measurements printed right on the roll makes my guys life a lot easier and quicker when preparing to install" - Shelly (Pro Stopper)
"Very strong material. Worked well on both the inside and outside corners as well as the many odd angles on our project." - Jeremy (DIYer)
"It makes truly straight lines and finishing wall to ceiling parts easy". - Tane (Pro Stopper)
Want to try it for yourself?
Reach out to one of our trusted local partners.